Visualizing Geographic Data: A Comprehensive Guide to Plotly Maps with Latitude and Longitude
Related Articles: Visualizing Geographic Data: A Comprehensive Guide to Plotly Maps with Latitude and Longitude
Introduction
With great pleasure, we will explore the intriguing topic related to Visualizing Geographic Data: A Comprehensive Guide to Plotly Maps with Latitude and Longitude. Let’s weave interesting information and offer fresh perspectives to the readers.
Table of Content
- 1 Related Articles: Visualizing Geographic Data: A Comprehensive Guide to Plotly Maps with Latitude and Longitude
- 2 Introduction
- 3 Visualizing Geographic Data: A Comprehensive Guide to Plotly Maps with Latitude and Longitude
- 3.1 Understanding the Power of Geospatial Visualization
- 3.2 Plotly Maps: A Versatile Tool for Geographic Data Exploration
- 3.3 Implementing Plotly Maps: A Step-by-Step Guide
- 3.4 Real-World Applications of Plotly Maps
- 3.5 Frequently Asked Questions (FAQs)
- 3.6 Tips for Effective Plotly Map Creation
- 3.7 Conclusion
- 4 Closure
Visualizing Geographic Data: A Comprehensive Guide to Plotly Maps with Latitude and Longitude
In the realm of data visualization, the ability to represent geographic information effectively is paramount. Plotly, a powerful open-source library for creating interactive and visually appealing graphs, offers a robust solution for mapping data points based on latitude and longitude coordinates. This article delves into the intricacies of utilizing Plotly maps, exploring their capabilities, benefits, and applications in various fields.
Understanding the Power of Geospatial Visualization
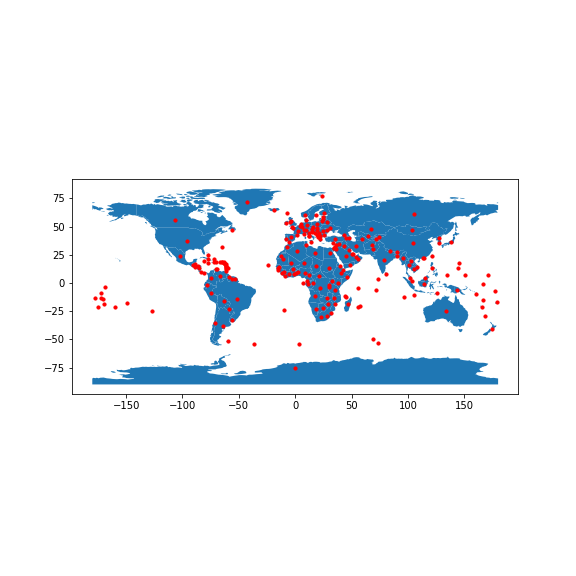
Mapping data with latitude and longitude coordinates opens a new dimension to data analysis. It allows for the visualization of spatial patterns, trends, and relationships that might remain obscured in traditional tabular formats. For instance, visualizing the distribution of air quality readings across a city can reveal areas with high pollution levels, aiding in environmental policy decisions. Similarly, mapping customer locations can identify areas with high market potential, guiding business expansion strategies.
Plotly Maps: A Versatile Tool for Geographic Data Exploration
Plotly maps leverage the power of the plotly.graph_objects library, providing a wide range of customization options for creating visually appealing and informative maps. Key features include:
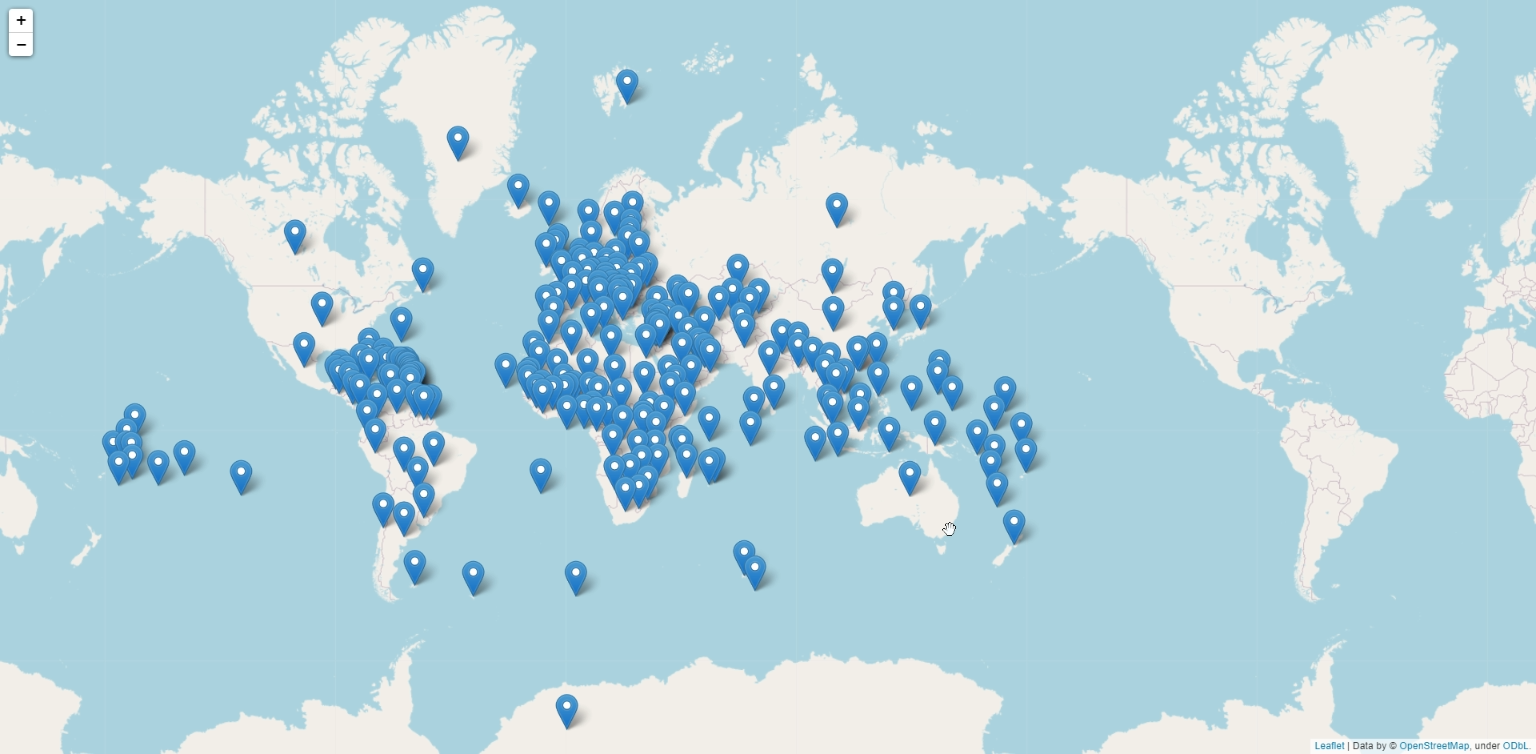
- Interactive Maps: Plotly maps are inherently interactive, allowing users to zoom, pan, and explore the data in detail. Users can easily identify specific locations, analyze clusters, and discover hidden patterns.
- Base Maps: Plotly offers various base map options, including OpenStreetMap, CartoDB, and Stamen, providing different styles and levels of detail to suit diverse visualization needs.
- Marker Customization: Users can customize the appearance of markers representing data points, adjusting their size, color, shape, and opacity to highlight specific trends or categories.
- GeoJSON Support: Plotly seamlessly integrates with GeoJSON data, allowing the representation of complex geographic features like polygons, lines, and points. This enables the visualization of administrative boundaries, rivers, roads, and other spatial entities.
- Heatmaps: Plotly enables the creation of heatmaps, which represent the density of data points across a geographic area. This is particularly useful for visualizing patterns of crime, traffic congestion, or population density.
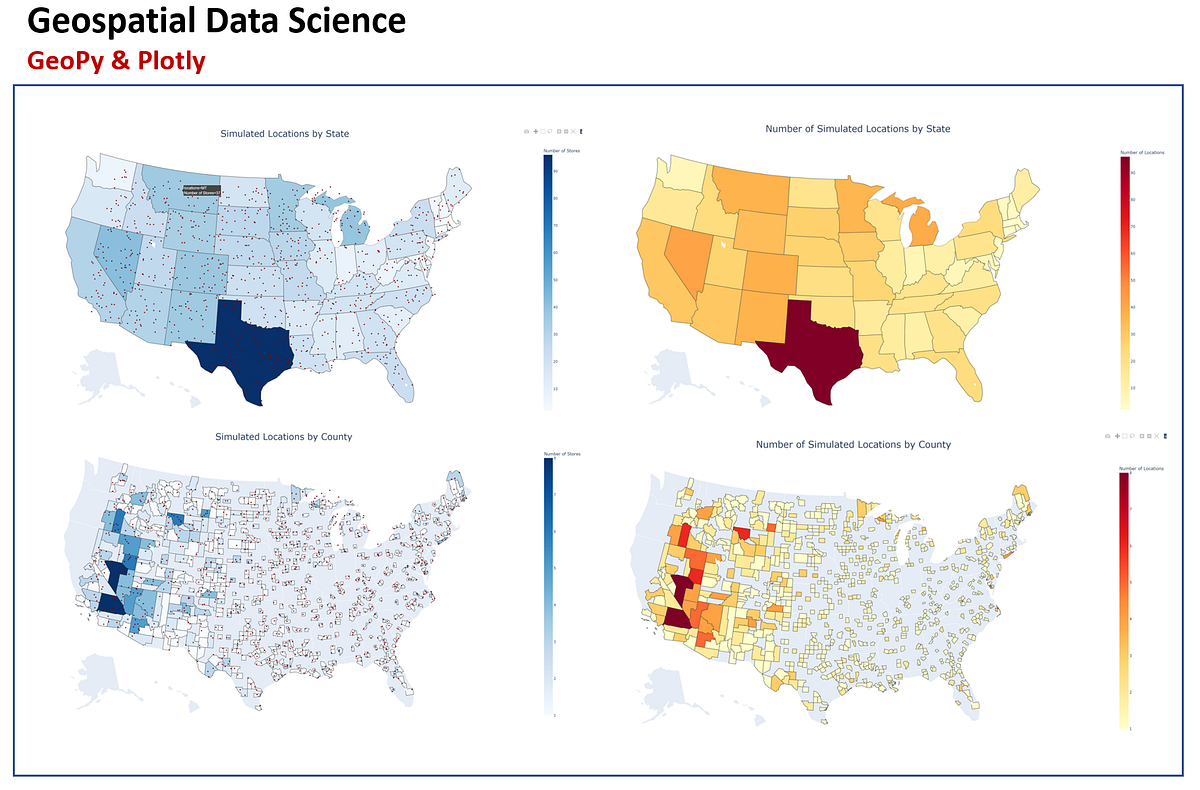
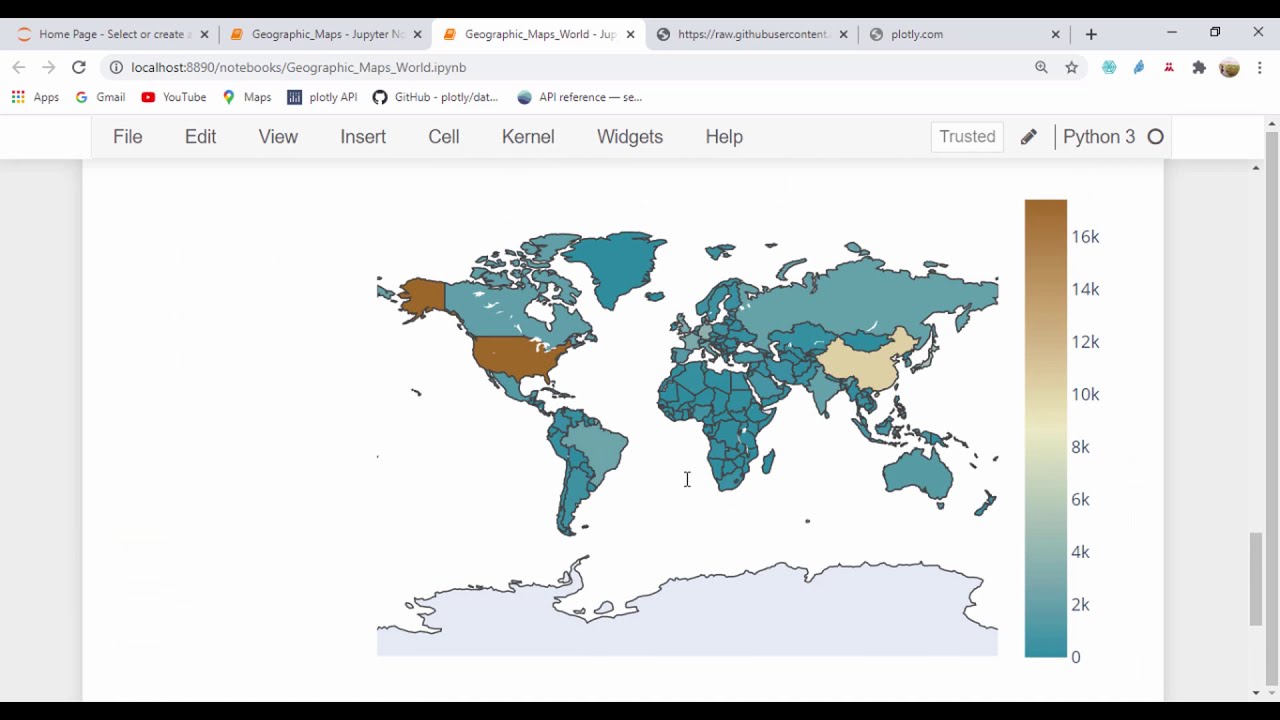
- Choropleth Maps: Choropleth maps use color gradients to depict variations in a specific variable across geographic regions. This technique is commonly employed to visualize demographic data, economic indicators, or disease prevalence.
Implementing Plotly Maps: A Step-by-Step Guide
Creating a Plotly map with latitude and longitude data involves a straightforward process. Below is a step-by-step guide:
-
Import Libraries: Begin by importing the necessary libraries:
plotly.graph_objectsfor map creation andpandasfor data manipulation. -
Load Data: Load your data into a Pandas DataFrame, ensuring it includes columns for latitude and longitude.
-
Create the Map: Instantiate a
plotly.graph_objects.Figureobject and add aplotly.graph_objects.Scattergeotrace. Set thelatandlonattributes to the corresponding columns in your DataFrame. -
Customize Markers: Adjust the marker attributes like
size,color, andsymbolto visually represent your data. -
Add Base Map: Specify the desired base map using the
layout.geo.projection.typeattribute. -
Display the Map: Use the
fig.show()function to display the interactive map.
Real-World Applications of Plotly Maps
The versatility of Plotly maps makes them indispensable tools in diverse fields, including:
- Environmental Science: Mapping air quality data, deforestation patterns, and climate change indicators to identify areas of concern and guide environmental policies.
- Urban Planning: Visualizing population density, crime rates, and infrastructure distribution to optimize city planning and resource allocation.
- Business Analytics: Mapping customer locations, sales data, and competitor presence to understand market dynamics and identify growth opportunities.
- Epidemiology: Visualizing disease outbreaks, identifying hotspots, and tracking the spread of infectious diseases to guide public health interventions.
- Transportation: Mapping traffic flow, accident hotspots, and public transit routes to optimize transportation systems and improve safety.
- Disaster Response: Visualizing disaster zones, evacuation routes, and resource distribution to facilitate efficient response and relief efforts.
Frequently Asked Questions (FAQs)
Q: How can I add labels to my markers on a Plotly map?
A: Utilize the text attribute within the plotly.graph_objects.Scattergeo trace to specify labels for each marker. You can also use the hovertemplate attribute to customize the information displayed when hovering over a marker.
Q: Can I add multiple layers of data to a single Plotly map?
A: Yes, you can add multiple plotly.graph_objects.Scattergeo traces to a single figure, each representing a different dataset. This allows for the visualization of multiple data layers on the same map, facilitating comparisons and analysis.
Q: How can I adjust the zoom level and center of my Plotly map?
A: Utilize the layout.geo.center and layout.geo.projection.scale attributes to control the map’s zoom level and center point. You can also use the layout.geo.fitbounds attribute to automatically fit the map to the extent of your data.
Q: How can I create a choropleth map with Plotly?
A: Use the plotly.graph_objects.Choropleth trace, specifying the geojson attribute with your GeoJSON data and the locations and z attributes to link the data to the geographic features.
Tips for Effective Plotly Map Creation
- Data Preparation: Ensure your data is clean and accurate, with consistent latitude and longitude formats.
- Clarity and Conciseness: Avoid overcrowding the map with excessive data points or complex annotations.
- Color Selection: Choose colors that are visually appealing and differentiate data categories effectively.
- Interactive Features: Leverage Plotly’s interactive capabilities to enhance user engagement and data exploration.
- Annotations: Use annotations strategically to highlight important features or provide additional context.
Conclusion
Plotly maps with latitude and longitude coordinates empower data analysts and researchers to visualize geographic data effectively. Their versatility, interactive nature, and comprehensive customization options make them invaluable tools for exploring spatial patterns, understanding geographic trends, and gaining insights from geospatial datasets. By leveraging the power of Plotly maps, individuals across various fields can unlock the hidden potential of their data and make informed decisions based on a clear and insightful representation of geographic information.


Closure
Thus, we hope this article has provided valuable insights into Visualizing Geographic Data: A Comprehensive Guide to Plotly Maps with Latitude and Longitude. We thank you for taking the time to read this article. See you in our next article!